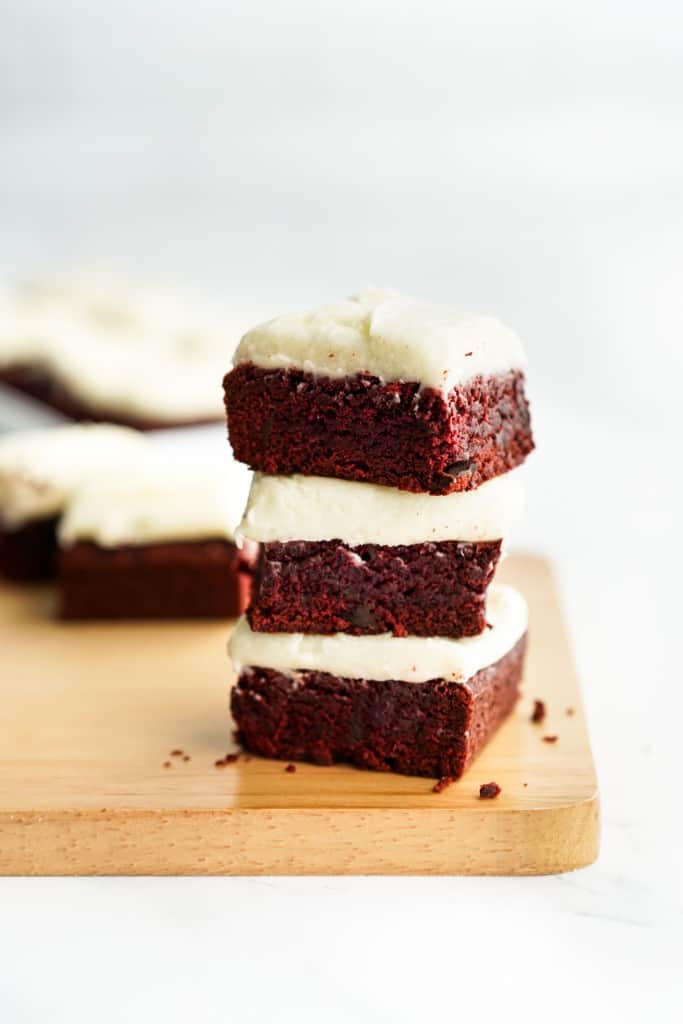
These Red Velvet Brownies are rich, fudgy, moist and loaded with chocolate pieces. It is topped with a layer of cream cheese icing, and sporting a vibrant red color that is perfect for Christmas and Valentine’s Day.
It is decadent, delicious and so easy to make! Prepare to be addicted!
Check out other favorite fun and delicious brownie recipes we have on the blog: Chocolate Cherry Brownies, Cheesecake Brownies, Brownie Brittle and Oreo Brownies.
Red Velvet Brownies with Cream Cheese Icing
As the Christmas holidays approaches, I’m making big batches of these red velvet brownies topped with cream cheese icing as fun festive treats. And it’ll be perfect for Valentine’s Day as well!
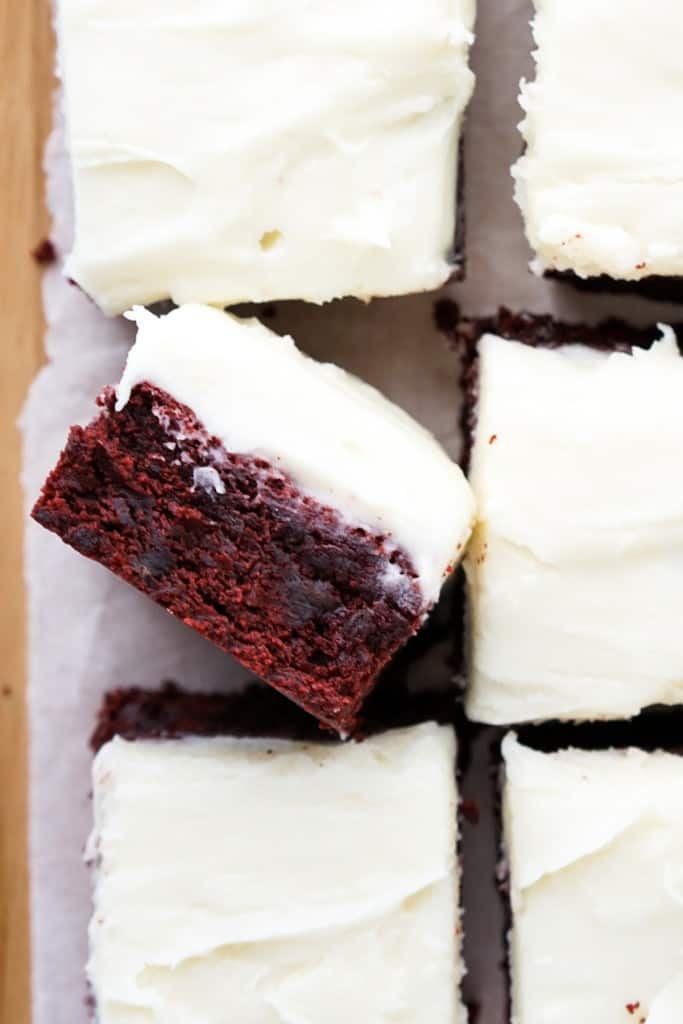
Red velvet brownies are pretty much chocolate brownies tinted in bright vibrant red. So if you are a big chocolate fan, you are going to love these red velvet brownies.
To make it even more rich and decadent, these red velvet brownies are loaded with chocolate chunks, and every bite is full of chocolaty goodness.
In my opinion, red velvet flavors and cream cheese go hand in hand, so we had to top off our red velvet brownies with thick and creamy cream cheese frosting made from scratch.
Why we love these red velvet brownies:
- easy to make: you’ll need one mixing bowl for the batter, and another one for the icing, and about 15 minutes of prep time. That’s it! The oven does the rest!
- festive and fun: the vibrant red coloring makes this a fun treat for Christmas, Valentine’s Day and much more! Great for parties and potlucks as well!
- decadent and delicious: you are looking at a rich, moist and crazy yummy pieces of brownies topped with amazing cream cheese icing. It truly doesn’t get better than this!
Ingredients
Here are the ingredients you will need to make the red velvet brownie batter:
- granulated sugar
- powdered sugar – this in red velvet brownies (or any brownies for that matter) seriously makes it so much tastier!
- unsalted butter – use unsalted butter instead of salted butter to have a better control of the salt content in the brownies.
- eggs
- vanilla extract – pure vanilla extract tastes the best
- red dye
- white vinegar – red velvet cakes/baked goods almost always calls for vinegar, it supposedly makes the cake light and fluffier and preserve the red colors. If you leave it out, your cake will probably be just fine.
- all-purpose flour
- cocoa powder
- salt
- semi-sweet chocolate – baking chocolate can be used as well. Break into small pieces.
As for the cream cheese icing, you will need:
- cream cheese – make sure it is softened before mixing everything together
- unsalted butter
- powdered sugar
- vanilla extract – use pure vanilla extract for best flavor
How to make red velvet brownies
These red velvet brownies comprise of two main parts: brownie batter and creamy cheese icing. Let’s start by making the batter and then the icing!
Red Velvet Brownie Batter
To make the red velvet brownie batter, you will need a large mixing bowl.
Use an electric or stand mixer if you have one, but you do not need one to make this.
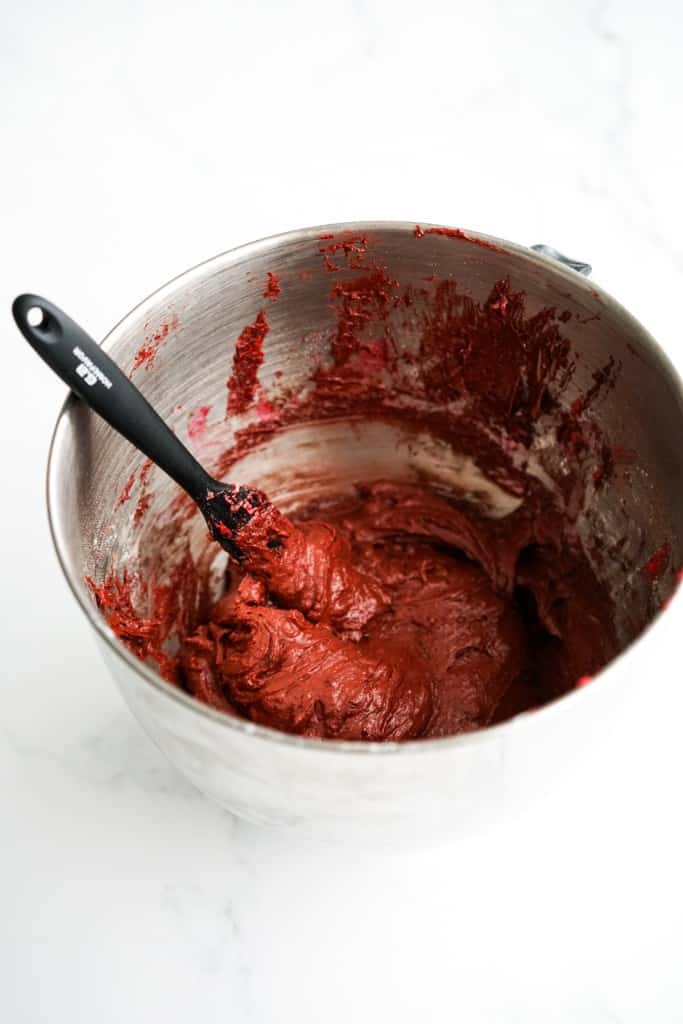
Start by creaming together unsalted butter with granulated sugar and powdered sugar.
Then add the rest of the wet ingredients – eggs, vanilla extract, red dye and white vinegar. Mix to combine.
Fold in dry ingredients – flour, cocoa powder and salt.
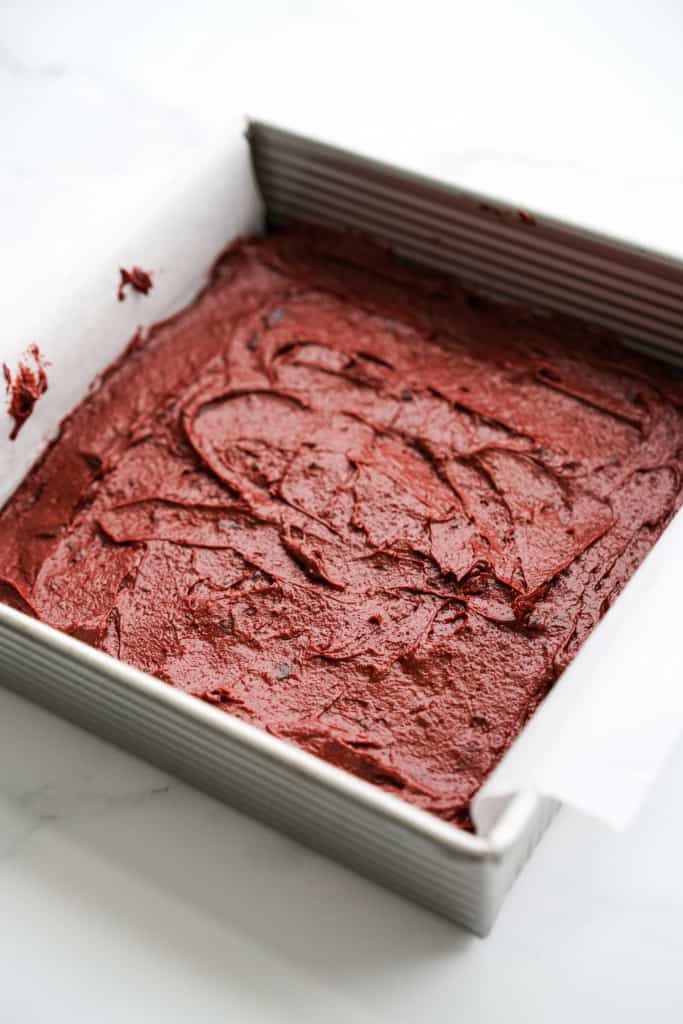
Bring brownie batter onto a 9′ x 9′ square metal baking dish line with parchment paper.
If baking dish is not lined with parchment paper, grease it to prevent red velvet brownies from sticking to the pan.
Bake red velvet brownies in the oven for 30 minutes.
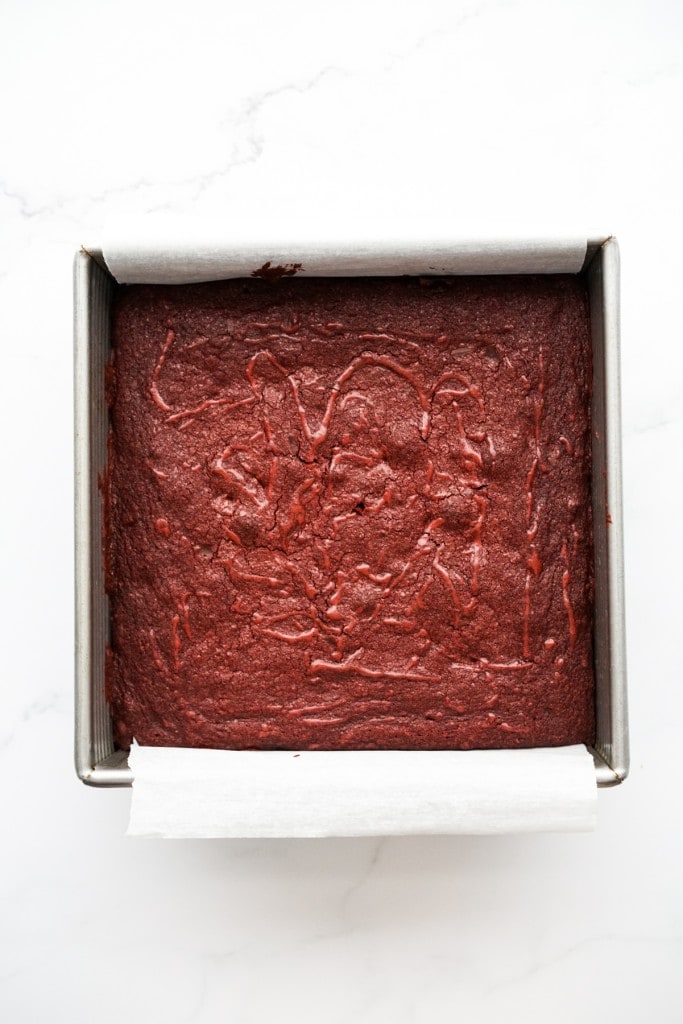
Test brownies for doneness by piercing a toothpick into the center of the pan of brownies. Toothpick should come out clean when brownies are done.
Lift brownies out from the baking dish using the sides of the parchment paper, and let it cool on a cooling rack.
Cream Cheese Frosting
When the red velvet brownies are baking in the oven, make the cream cheese frosting.
In a medium mixing bowl, bring together softened cream cheese (make sure it’s softened!), softened unsalted butter, powdered sugar and vanilla extract. Use a spatula or electric mixture and whisk everything together until it is fluffy.
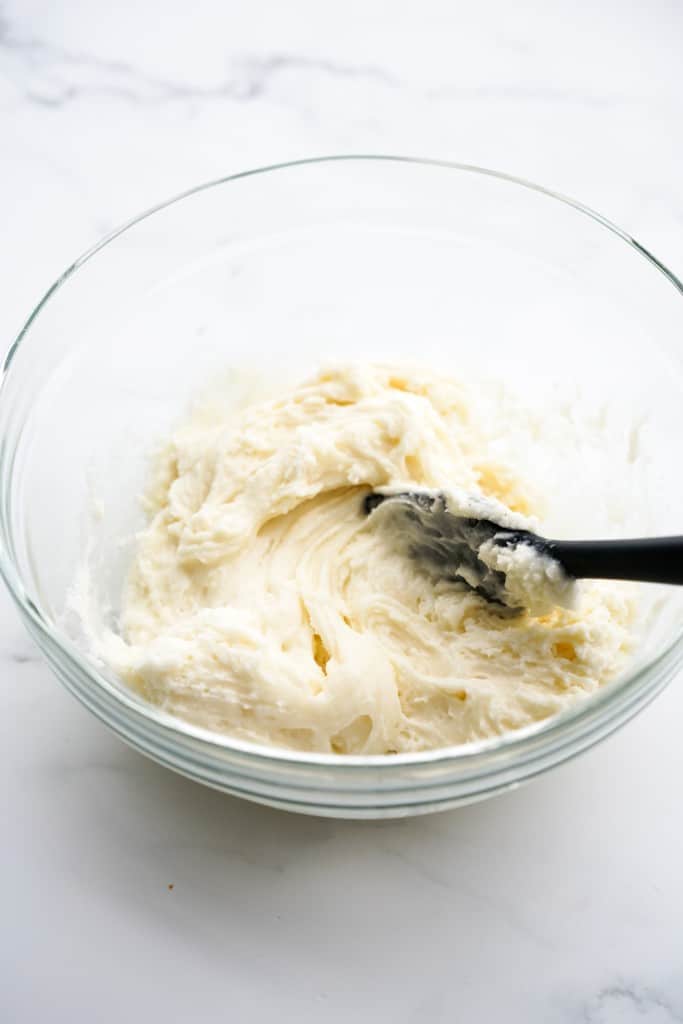
To thicken the cream cheese icing, add more powdered sugar. I usually start with a minimal amount of powdered sugar and work my way to the thickness I desire.
Note that once icing is refrigerated, it will stiffen as well.
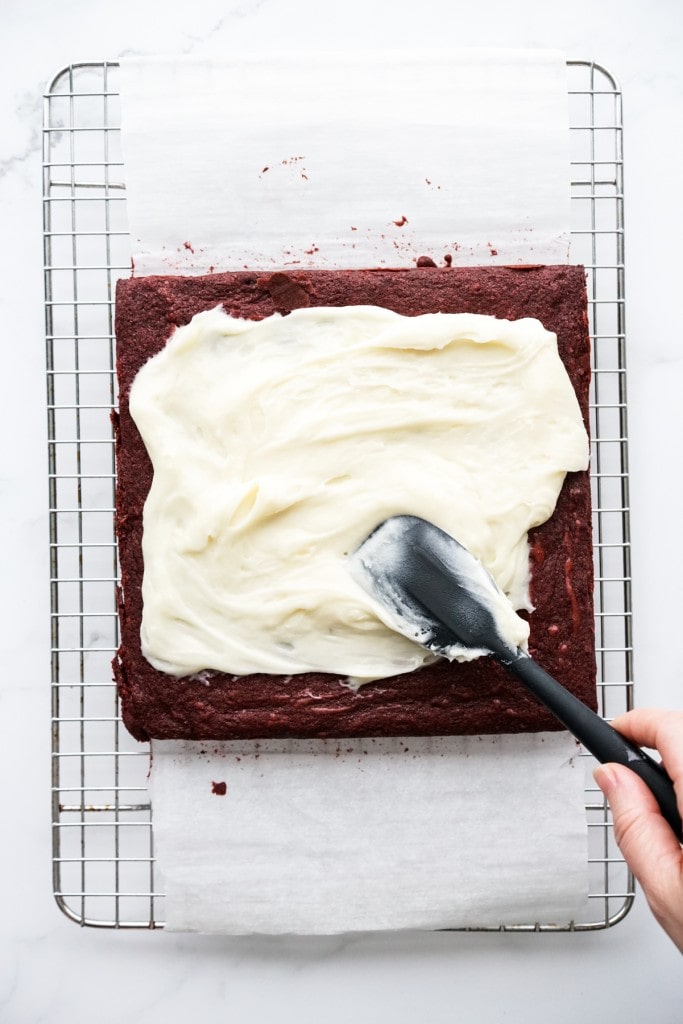
Frost the brownies
Make sure the brownies are completely cool before frosting it.
Pro tip: if icing is too cold, it will be hard to spread.
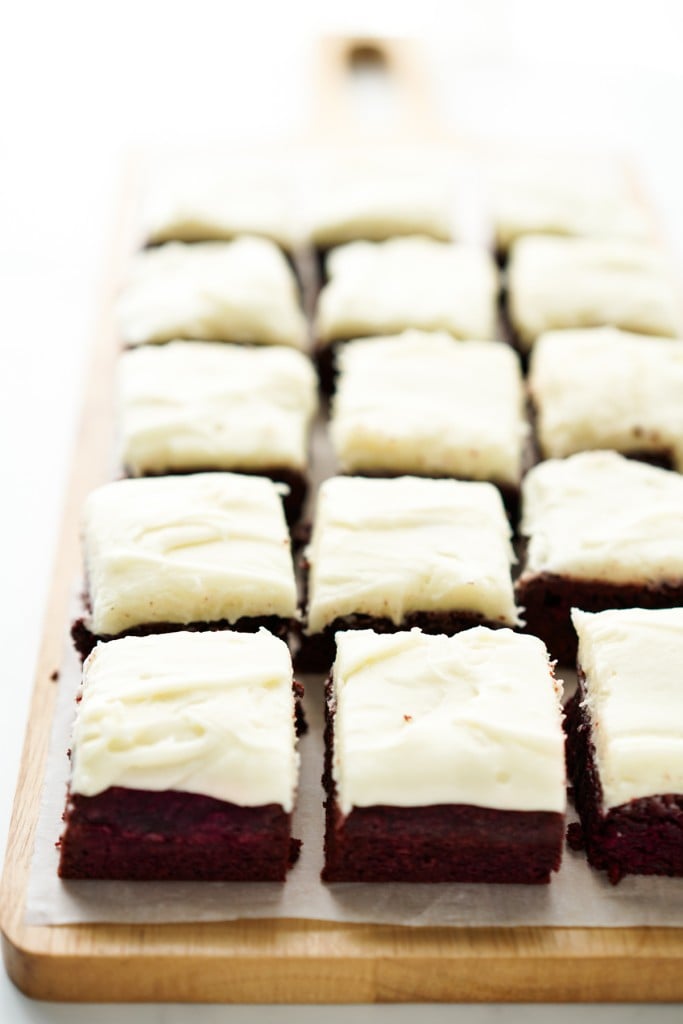
Slice red velvet brownies into 16 small squares, and serve and enjoy!
Every bite is rich, moist and fudgy, filled with chocolate chunks and topped with the delicious cream cheese icing.
Oh so delicious!!
Storage Instructions
Because red velvet brownies are topped with cream cheese icing, it has to be stored in the refrigerator. Store in air tight container in the refrigerator for up to 5 days.
Cream cheese icing will stiffen after a few hours in the refrigerator.
Freeze red velvet brownies with icing individually in an airtight container or bag. Freeze up to 2 months.
Tips and Tricks
A few things to note when making red velvet brownies:
- Line baking dish with parchment paper or grease it: to prevent sticking
- Refrigerate the icing to stiffen it: if you want to make your icing thicker, you can refrigerate it instead of adding more powdered sugar if you prefer.
- Let brownies cool completely before adding icing: this will prevent warm brownies from melting the icing
- Icing that is straight out from the refrigerator can be hard to spread: room temperature icing works best for spreading.
Frequently Asked Questions
Red velvet brownies is essentially chocolate brownies tinted in red. It is made with cocoa powder, flour, butter and chocolate chunks. Vinegar is traditionally added to red velvet flavored baked items to give it a slight tangy flavor.
Yes! This recipe is written using a metal pan. If using a glass dish, you may want to bake for a few minutes longer. Always do the toothpick test to make sure brownies are done before removing from oven.
Red velvet brownies will not be red without red food coloring, but it will taste just as delicious if you leave it out – it’ll just be more like chocolate brownies with cream cheese frosting. As an alternative, beet powder can be used for natural coloring. Or use less red dye.
Yes! Red velvet brownies with cream cheese icing freeze just fine.
Add more powdered sugar to make it thicker, or refrigerate it and it will become stiffer/harden. Note: icing can be hard to spread if it is too cold.
ENJOYED THIS RECIPE? Tell us what you think by leaving a rating and review below! 🤍
More Fun Festive Desserts
- Valentine’s Day Chocolate Covered Strawberries
- Molten Chocolate Lava Cake
- No-Bake Chocolate Tart
- Strawberry Mousse
- Peppermint Rice Krispie Treats
- White Chocolate Raspberry Cookies

Red Velvet Brownies
Equipment
Ingredients
- 3/4 cup granulated sugar
- 3/4 cup powdered sugar
- 10 tbsp unsalted butter softened or melted
- 2 large eggs
- 2 tsp vanilla extract
- 1 1/2 tbsp red dye
- 1 tsp white vinegar
- 2/3 cup all-purpose flour
- 1/2 cup cocoa powder
- 1/2 tsp salt
- 1.5 oz semi-sweet chocolate chopped
Cream Cheese Frosting
- 8 oz cream cheese softened
- 1/2 cup unsalted butter
- 2 tsp vanilla extract
- 3 – 3 1/2 cups powdered sugar or more to thicken
Instructions
- Pre-heat oven to 350℉.
- In a large mixing bowl, cream sugar, powdered sugar and unsalted butter. Add eggs, vanilla extract, red dye and white vinegar. Mix to combine.
- Fold in flour, cocoa powder, and salt. Mix to combine. Fold in semi-sweet chocolate.
- Transfer batter into a 9'x9' metal baking dish lined with parchment paper.
- Bake in the oven for 30 minutes. Bake for a few extra minutes if using a glass baking dish. When it is done, test by piercing a toothpick into the center of the brownies. If toothpick comes out clean, brownies are done.
- Lift brownies out of the dish and cool on cooling rack for ~30 minutes.
- To make cream cheese icing, whisk together cream cheese, butter, vanilla extract and powdered sugar until icing is smooth. Add more powdered sugar to thicken icing if needed.
- Once brownies are completely cool, spread cream cheese icing onto the top of brownies.
- Slice into 16 small squares. Serve and enjoy!


DEELICIOUS! Super moist and my hubby especially loved the chunks of chocolate throughout! Bringing to a cookie exchange!
Wonderful! Thanks for sharing 🙂
I just loved how straightforward this recipe was and the brownies were delicious! I’m saving this recipe for Valentine’s Day!
Great one for Valentine’s Day! Let me know how it goes!
Wow, these are next level brownies! They were delicious!
Thank you so much! I’m so glad you enjoyed it 🙂