

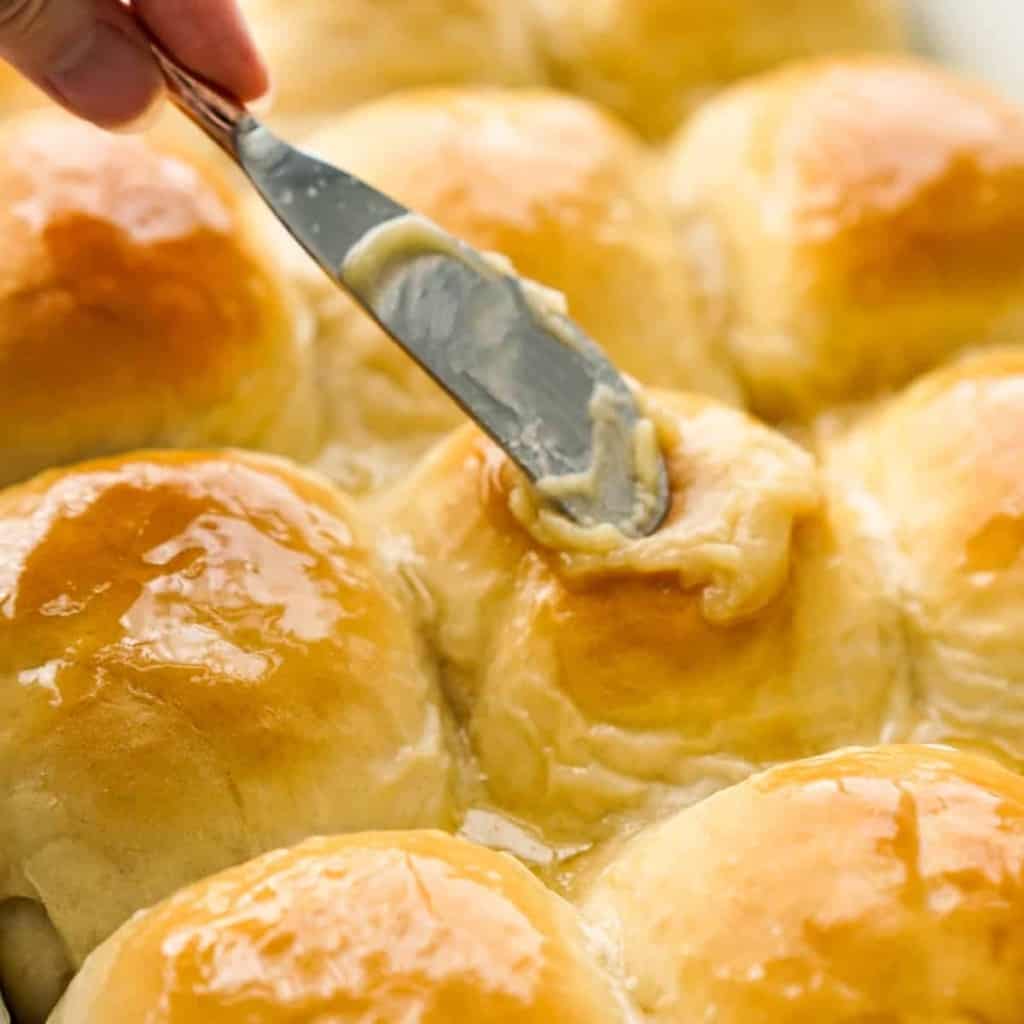
Golden brown homemade honey butter rolls are made from scratch using a simple yeast bread recipe. They are then brushed with a honey butter compound, making them slightly sweet and absolutely addictive.
These soft and fluffy homemade yeast bread rolls are straight-forward to make, using only a few simple ingredients. Even if this is your first time baking with yeast, you can totally make these honey butter dinner rolls! 💛
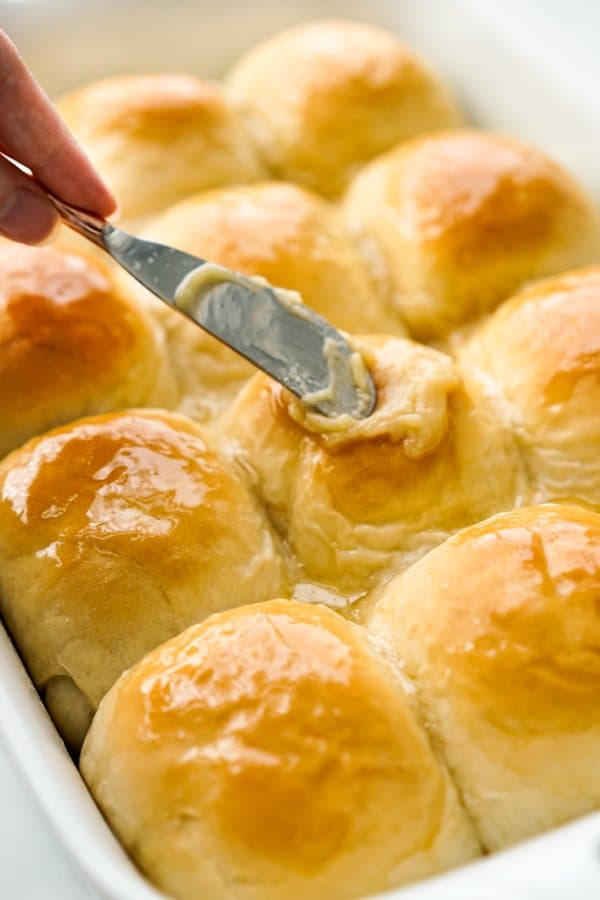
I love having these rolls with honey butter as a side for Thanksgiving and holiday dinners, together with some Spatchcock Turkey, Roasted Brussels Sprouts and Sweet Potatoes, and Cranberry Relish. Fancier dinners aside, they are a great addition to everyday dinner meals like Garlic Herb Chicken with Cream Sauce and Stovetop Beef Stew as well.
The Best Honey Butter Dinner Rolls
Caution: it’s dangerous to be left alone with these Honey Butter Rolls.
Just like my Cheesy Garlic Rolls and Milk Bread Rolls, I could eat a dozen honey butter rolls in one setting because it’s ridiculously hard to stop eating at one.
That soft yeast bread with a golden brown, slightly crusty top, are soft and fluffy on the insides, and pairs with honey butter like a dream. For all my fellow carb lovers out there, I know you get it deeply.
We make honey butter dinner rolls for the holidays and they are gone in a flash. Nothing is quite like made-from-scratch homemade dinner rolls top with an irresistible honey butter glaze.
Once you start it’s super hard to go back to store-bought.
And yes, honey butter rolls are perfect for your Thanksgiving and Christmas holiday dinners. But who said you can’t indulge in these dinner rolls smothered in honey butter goodness for regular dinners??
In fact, I highly recommend eating these honey yeast rolls for lunch, breakfast, snack, when you are having a bad day.
They work especially well as food therapy! Just sayin’… 😉
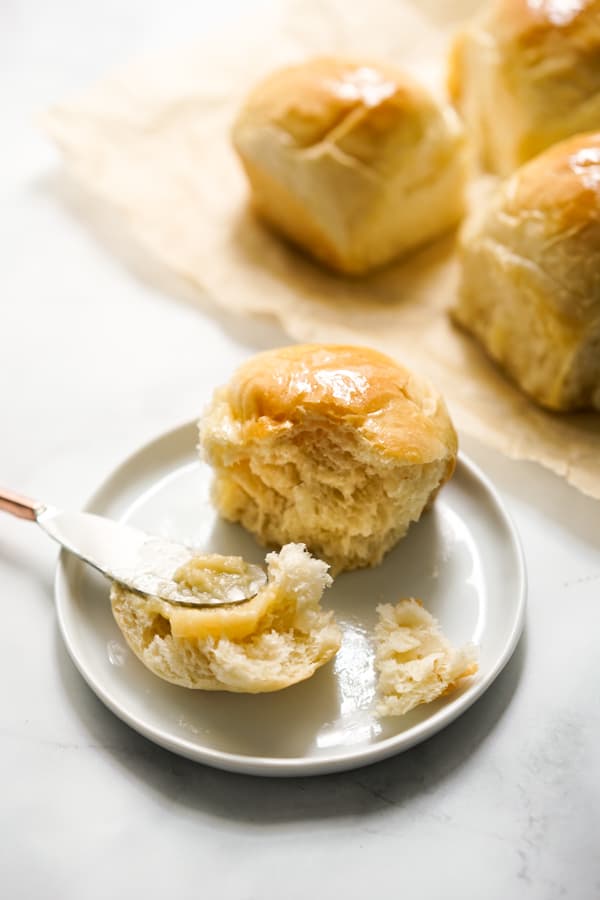
ingredients
- Bread flour: Bread flour differs from all-purpose flour because it has higher protein content which increases production of gluten. Using bread flour will produce airy, chewy rolls. However, in a pinch, all-purpose flour can also be used.
- Instant yeast: Speeds up the proofing process and produces soft, fluffy rolls. Make sure to check the expiration date – expired yeast will significantly affect your dough. Now I know baking with yeast may sound intimidating, but it definitely sounds a lot more intimidating than it really is. My goal here is to arm you with everything you need to confidently make these Honey Butter Yeast Rolls. YES, YOU GOT THIS.
- Butter: You’ll need both unsalted and salted. Unsalted for the dough to get better control over the salt content, and salted for the honey butter compound to bring out the flavors without the extra step of adding salt. You can also use unsalted or salted for both, just adjust added salt accordingly.
- Milk: Can use whole milk or 1% but avoid fat free for best flavor. Needs to be at 100-110 ℉ to activate the yeast.
- Granulated sugar: a.k.a. just regular ‘sugar’, it contributes sweetness to balance the flavors in the dough. It also helps activate the yeast for a nice rise.
- Honey: Honey is used in the dough to give these dinner rolls a unique flavor that differentiates them from traditional ones. Used also in the honey butter compound spread, it helps create a lovely caramelization effect.
- Egg: Eggs enhance the texture, taste, and appearance of the rolls. It serves as a binding agent and also contributes to color in the final baked product.
- Salt: Salt enhances the overall flavor profile by balancing the sweetness from honey.
How to Make It
When making yeast bread, definitely give yourself some time to knead and wait for the dough to rise. It is not something you can do in a hurry.
It’s not hard, but it does take some time. Because yeast takes time to rise.
step 1: Make and knead dough
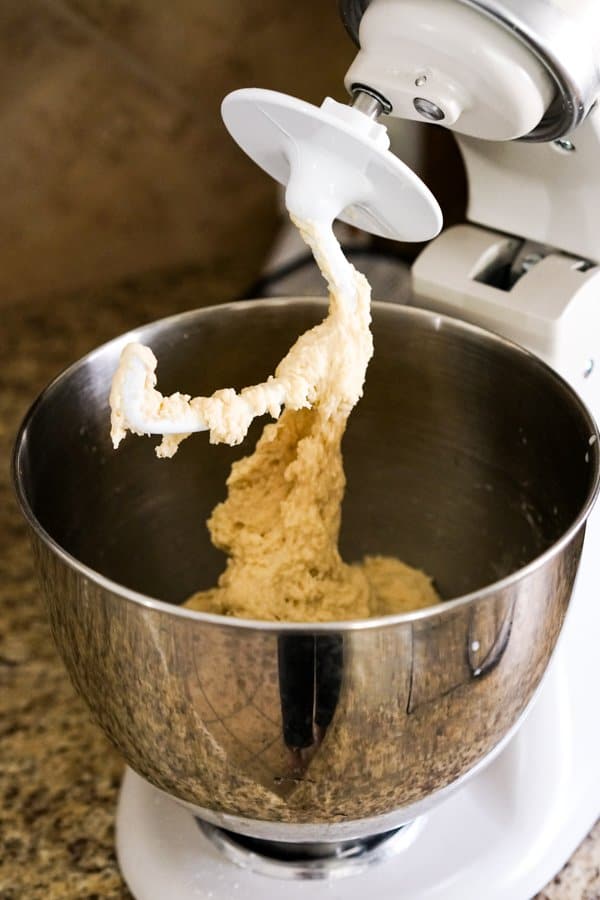
To begin, mix together all the dough ingredients. Started with milk, unsalted butter, yeast, sugar, honey, egg and salt. Mix well, then add in the flour and start kneading, either with a stand mixer using a dough hook (see picture below), or with hands.
step 2: rest & Roll (and rest) and bake
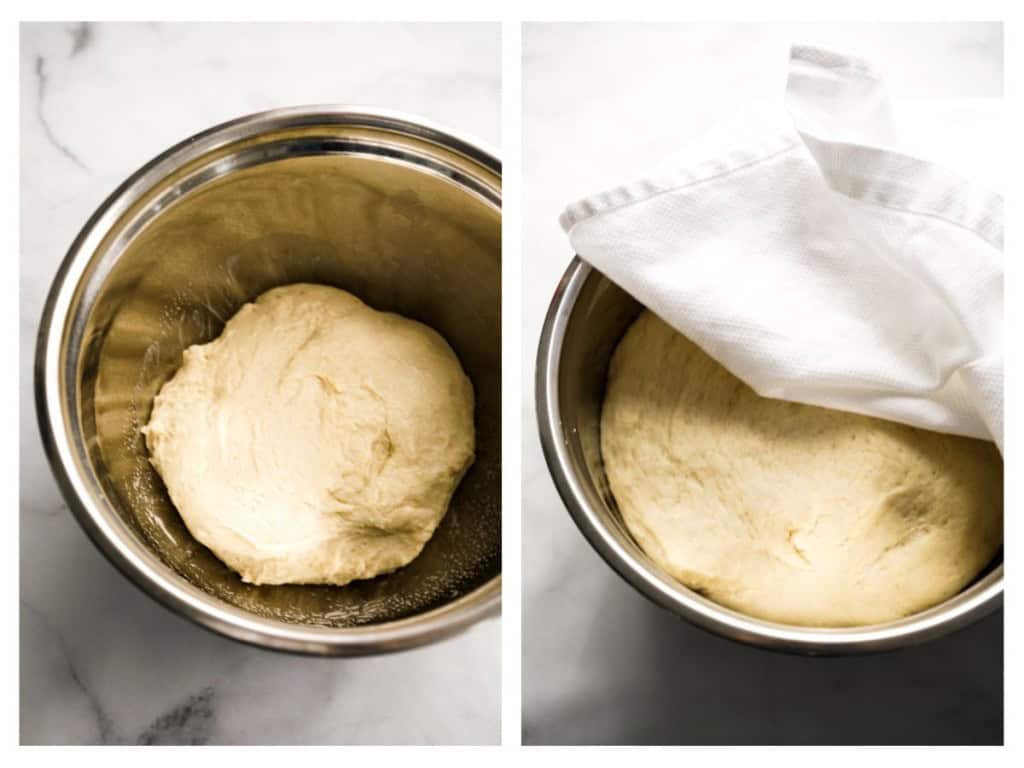
After kneading the dough, bring it to a large greased bowl and cover with a clean towel. Let it sit in a warm spot for one hour for the dough to rise (this is called “proofing”).
Make sure to use a large bowl because dough will grow at least twice its size.
Remove dough from bowl and roll into a long tube. Then cut into 12 pieces.
I typically cut the long tube in half first, and then cut it into six pieces on each side. Try to keep each piece the same size as much as you can.
Knead each piece of dough and then shape it into a ball.
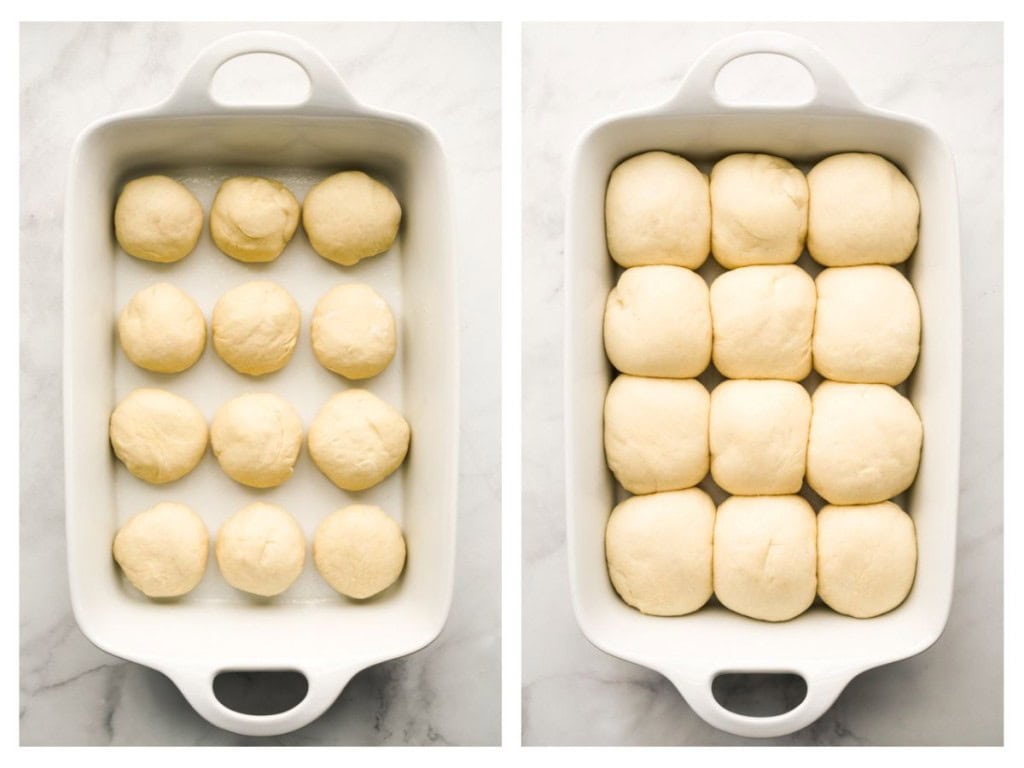
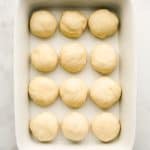
Place the rolls into a greased (for easy removal of the rolls after it is baked) 9’x13′ baking dish.
Cover and let it rise again!
Rolls should be much bigger and touching after an hour. Kinda like the picture on the right below!
Bring rolls into preheated oven to bake for 20 minutes at 350℉.
step 3: make honey butter compound
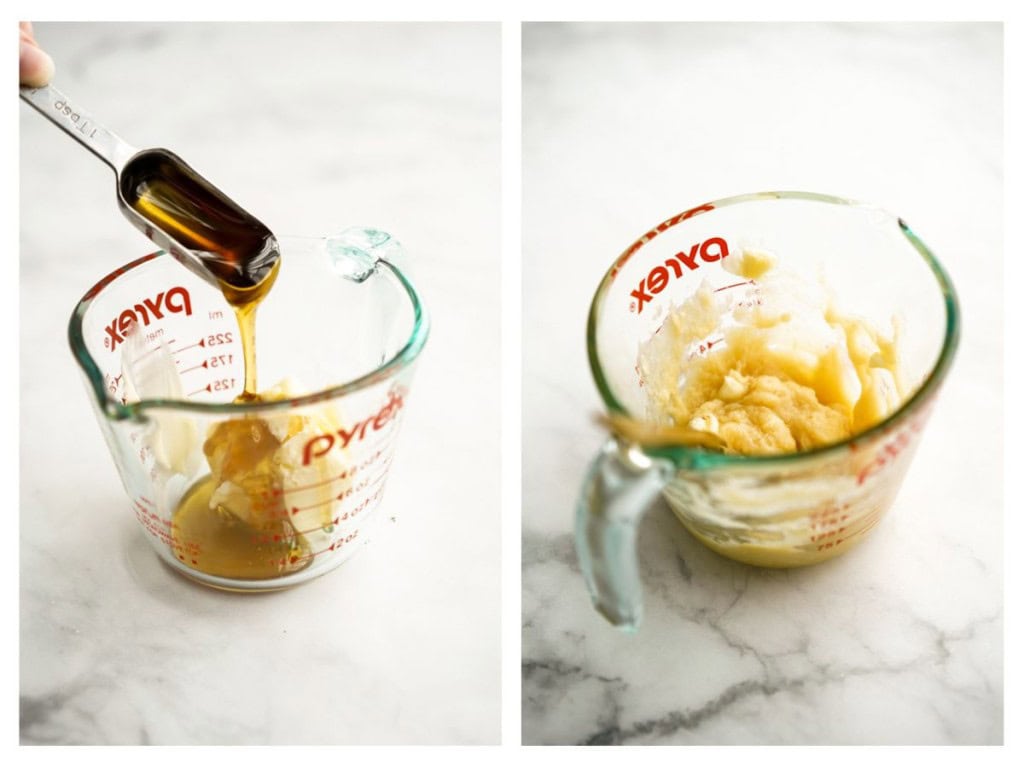
While yeast rolls are baking in the oven, prepare the honey butter compound by mixing softened butter and honey together. Do not skip this step! This compound takes the rolls from good to GREAT.
If butter is not yet softened, microwave it at 50% power for a few minutes until it is softened. Be careful not to boil the butter.
step 4: Finish rolls
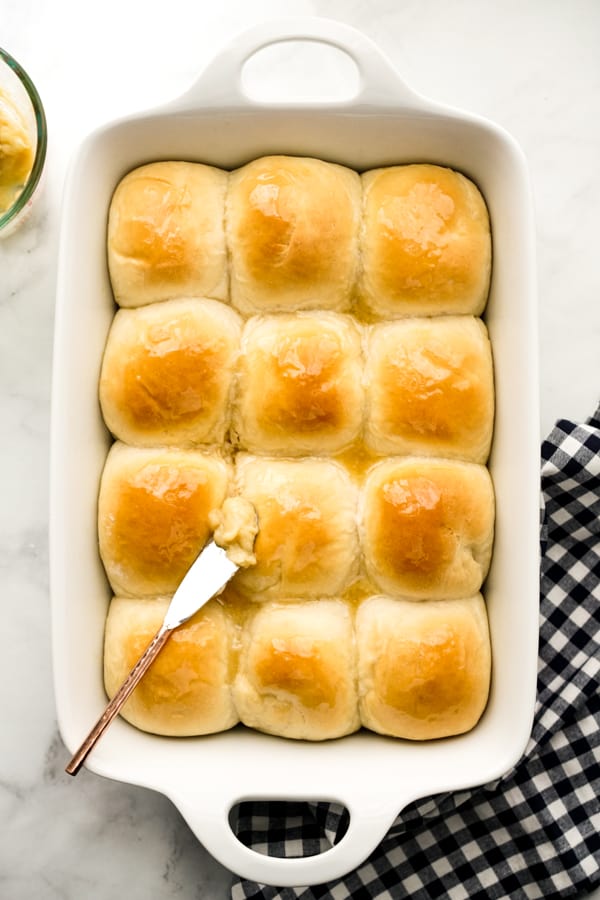
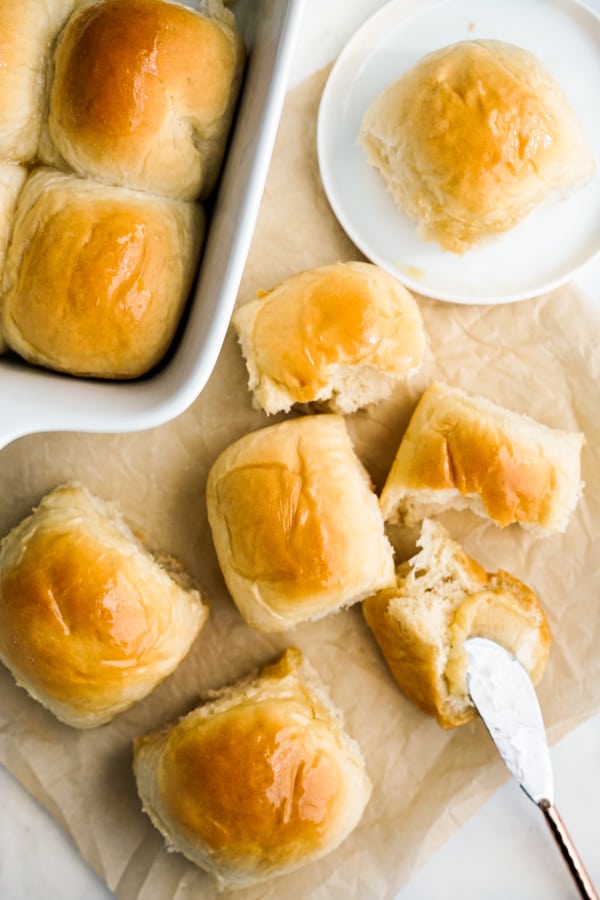
When dinner rolls are done baking, they should be golden brown and slightly crusty on top, yet soft inside and easily pulled apart.
Spread that honey butter onto the top of the rolls and serve the rest of the honey butter on the side so that you can spread it onto the rolls as you consume them.
Pro tip: if you are a honey butter lover, simply make more! Because when it comes to these Honey Butter Rolls, the more honey butter, the tastier!
These Honey Butter Rolls take a little bit of time to perfect, but on the whole they’re actually pretty straightforward.
If you want to try another yeast bread recipe, I got these Milk Bread Rolls here for you! It’s basically dinner rolls inspired by the Japanese milk bread. And if you want a yeast roll recipe that is even simpler using my favorite frozen dough, check out these Cheesy Garlic Rolls.
Your life will no longer be the same with these Honey Butter Rolls. So proceed with caution! 😉
Making Ahead
To make ahead, make and knead the dough, let it rise, cut and roll into 12 roll balls, then freeze in an airtight bag or container. Make sure they do not touch each other when you freeze them so that they are not stuck together frozen. When ready to bake, place frozen rolls on greased baking dish, cover, and let it rise for ~4 hours until they are bigger and touching each other, then bake!
Storage and Reheating
Storage: I recommend not spreading the honey butter onto the tops of the rolls if you are making ahead and storing extra honey butter rolls. Only spread with honey butter compound when warmed and ready to eat. Store honey butter compound in the fridge for up to a week.
Store milk bread rolls (without honey butter) in an air tight container or bag in room temperature for up to 3 days, then store in fridge for up to a week.
Reheating: Reheat your honey butter rolls in the microwave wrapped individually or in pairs with damp paper towel to retain their moisture.
Tips and Tricks
- Flour measurement: Different flours have different moisture content, so always measure your flour by spooning it into your measuring cup and leveling it off with a knife. You may have to slightly adjust the amount of flour used.
- Proofing: Proofing (rise) time needed will vary according to the temperature and humidity. You may need a longer rpoof time if it’s cold outside. For variety, experiment with different proofing times to see how that impacts your rolls’ texture – longer proof time results in a fluffier roll.
- Add flavors: Jazz up your rolls with some herbs and/or spices like nutmeg, cinnamon, rosemary, or even garlic.
- Storage: Store baked and cooled rolls in airtight containers (to prevent from drying out) at room temperature for up to 3 days, or in the fridge for up to a week.
Frequently Asked Questions
Yes! Use the same amount as you would for instant yeast. However, let active dry yeast activate in warm milk and melted butter (100-110℉) along with sugar for 10 minutes, and then add the rest of the ingredients (except flour), mix well, and then add in flour and knead the dough using a stand mixer or hands. Active yeast requires some activating time in warm liquid while instant yeast do not.
There are multiple possibilities such as expired yeast, but at this stage the best thing you can do is to check the environment. If it’s too cold, the dough won’t rise well. Try placing your dough in a warm, draft-free environment. You can cover your dough with a damp towel and place it inside your oven (turned OFF) next to a bowl of hot water.
This could be due to overworking the dough, not using fresh yeast, or the dough not rising enough.
I like having both for different purposes – generally salted butter is more convenient since it saves the step of adding more salt, but for the dough I prefer unsalted butter so that I can more finely dial in the salt levels. You can use either salted or unsalted for both, but be sure to adjust the added salt accordingly.
ENJOYED THIS RECIPE? Tell us what you think by leaving a rating and review below! 🤍
Other Holiday Favorites
These honey rolls are perfect for holiday dinners. Serve them with some of our other holiday favorites!
- Pineapple Baked Ham
- Mascarpone Mashed Potatoes
- Roasted Brussels Sprouts and Sweet Potatoes
- Smoked Gouda Mac and Cheese
- Sweet Potato Casserole with Pecans
- Brown Sugar Pecan Roasted Sweet Potatoes
- Gravy From Scratch
- Homemade Cranberry Sauce
- Sweet Potato Casserole with Pecans
Honey Butter Rolls
Ingredients
- 1 cup 2% milk
- 3 tbsp unsalted butter
- 2 1/4 tsp instant yeast
- 1 tbsp granulated sugar
- 2 tbsp honey
- 1 large egg
- 1/2 tsp salt
- 3 1/8 cup bread flour more if needed
Honey Butter Compound
- 3 tbsp honey
- 3 tbsp salted butter softened or melted
Instructions
- Warm milk and unsalted butter to ~100-110℉ in the microwave. (temperature suggested to effectively activate yeast).
- Combine warm milk and butter mixture, yeast, sugar, honey, egg and salt in a large mixing bowl (or stand mixer bowl). Whisk to combine.
- Add bread flour. Using a stand mixer with the dough hook on, or your hands, knead dough until bread flour is folded into the dough. When done, dough should be slightly sticky but a big clump shouldn't stick to your fingers when you touch the dough with dry fingers. If dough is too wet, add more bread flour 1 tbsp at a time. (See Note 1)
- Transfer dough to a greased large mixing bowl. Cover with a towel and let it rise in a warm spot for 1 hour.
- After dough has risen, it should be at least twice its original size. Punch dough to remove air bubbles, then transfer dough to a floured surface. Roll dough into a long tube, then cut tube into 12 pieces – try to keep them about the same size (First, cut tube into half, then cut into quarters, and then divide each quarter into three pieces). Lightly knead each piece of dough and shape it into a ball.
- Place each ball onto a 9" x 13" baking dish. See picture on how to place them. Cover with towel and let it rise in a warm spot for another hour.

- Pre heat oven to 350℉. Bake for 20 minutes.
- While rolls are baking, combine softened salted butter and honey in a bowl.
- Remove rolls and spread the top of the rolls with honey butter. Serve remaining honey butter on the side. Enjoy!



Looks soooo good. will definitely give it a try.
Btw i have been making your cranberry bread regularly. We like it very much. Great recipe!
Yay! So glad to hear 🙂
These are delicious!! Such good texture and flavor. My first time making rolls, and it was so easy. They were a little underdone on the bottom, so next time I’ll increase the bake time a little.
Thanks Hannah! So glad you enjoyed it. Thanks for the feedback about the bake time! I’ll be sure to add that in the recipe notes!
This was my first real stab at making bread, and everything turned out incredible. My friends will love them at dinner tomorrow. I feel much better about breads now 🙂
Yay! I’m so glad your first bread-making experience went well! These rolls are excellent and some of my favorites as well.
We love these rolls. They are prefect for soups, chilis and stews. I am going to make some for our holiday dinner too. This recipe is a keeper!
I’m so glad you think so, Gloria! I have to agree 🙂
I can hardly wait to make these!! I’m sure it will make our Christmas dinner even better with these rolls!!!
I hope you love it! Happy holidays !
These are so lovely in flavor and texture, especially after they puff up and fill the pan. An instant favorite!
Yay! Happy to hear it went so well, Carlee!
I love how soft and fluffy these turned out. I made them for Thanksgiving and they were a huge hit. I had to come back around and let you know that I enjoyed them!
Thank you for letting me know Julie!! I’m glad to hear that!
Oh my such gorgeous looking honey butter rolls! Love that beautiful crust on top! Everyone enjoyed it very much!
Thank you! Great to hear that everyone loved it!