Banana Milkshake
If you are wondering how to make a banana milkshake, you’ve come to the right place! This easy homemade Banana Milkshake recipe uses only 3 simple ingredients, and is a fresh, delicious banana dessert recipe with no artificial flavors.
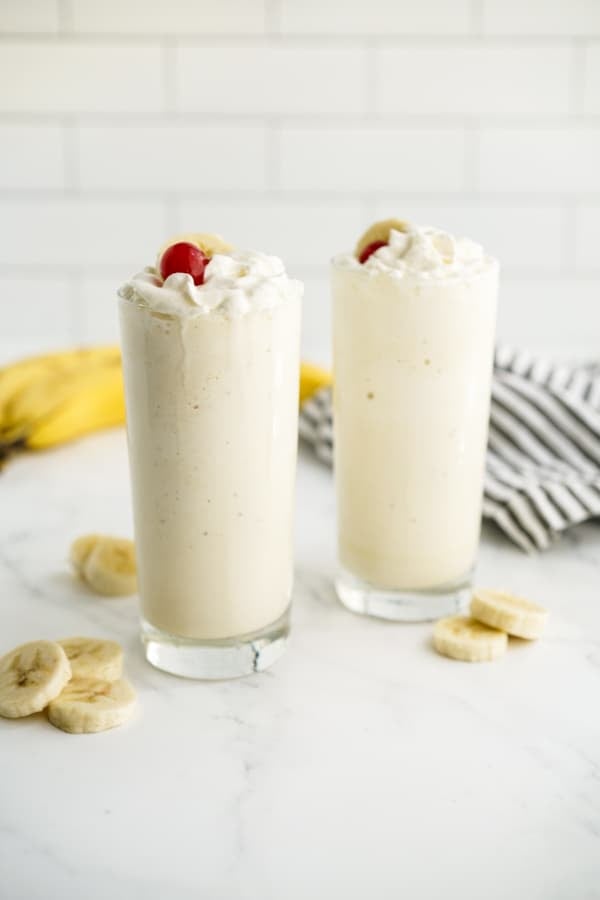
Easy Banana Milkshake Recipe
This summer has been particularly brutal from a temperature standpoint, and this Banana Milkshake has been such a cooling, refreshing way to enjoy a dessert!
When I make homemade banana milkshake I get to control the amount of creaminess, sweetness and banana flavors I incorporate into my milkshakes, and I love knowing exactly what ingredients are added to it.
And it’s super easy and straightforward! All you need is a blender, 3 pantry friendly ingredients, and 10 minutes of your time!
Ingredient Notes
Here are three key items you will need when making this Banana Milkshake:
- Bananas – I highly recommend using 2 frozen bananas and 1 non frozen banana. Here’s why, you need the frozen bananas to give you that crushed ice texture in your banana milkshake, and you don’t want to add extra ice because it dilutes your milkshake.
- Milk – you can use any % milk but the highly the % (whole milk, 2%), the more rich and creamy your banana milkshake will be. My recommendation is to use at least 2% milk, unless you prefer a lighter, more icy milkshake.
- Vanilla ice cream – this will give a rich, creamy texture, while providing additional sweetness.
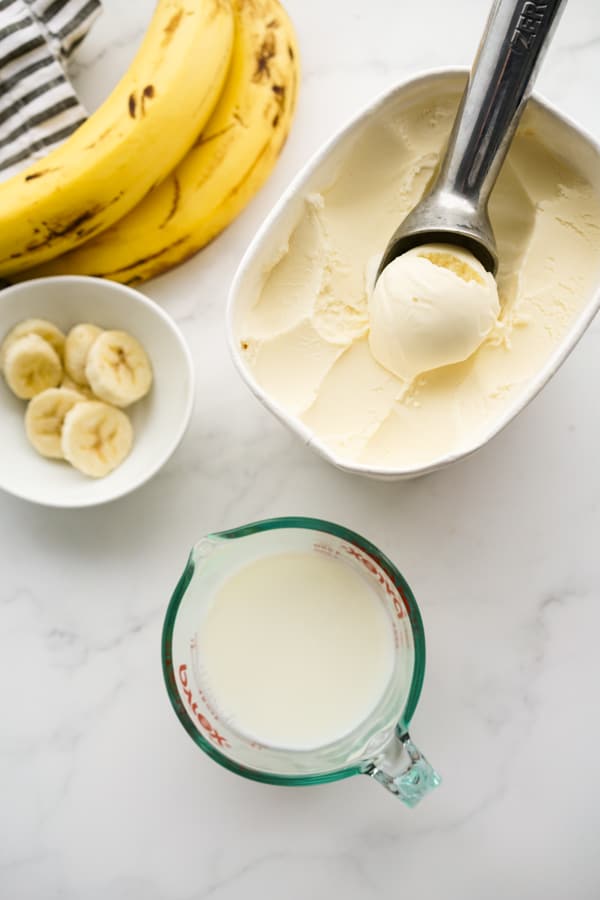
Here are other optional ingredients you can add to your banana milkshake – they are mainly used for decorations, and won’t change the tastes of your milkshake much:
- whipped cream
- banana slices
- maraschino cherries – typically comes in a jar
How to make banana milkshake
Step 1: Preparing and freezing bananas
It takes a little bit of planning ahead to make the perfect Banana Milkshake.
Freezing bananas ahead of time might seem like a tedious extra step but doing so will seriously make your Banana Milkshakes so much better!
We are freezing the bananas so that our milkshake has an icy texture without having to add additional ice cubes (which will dilute the milkshake).
The best bananas to use are yellow ones with a few black spots on them. Avoid using green, unripe bananas, or overripe bananas that have turned completely black.
Peel and slice bananas, and then place sliced bananas in a zip lock bag without overlapping them. Place bag flat on a flat surface so that banana slices freeze individually (not stuck to each other).
Let it freeze for about 6 hours, or overnight.
Step 2: Blend!
Using a blender, blend together frozen banana slices, ice cream and milk.
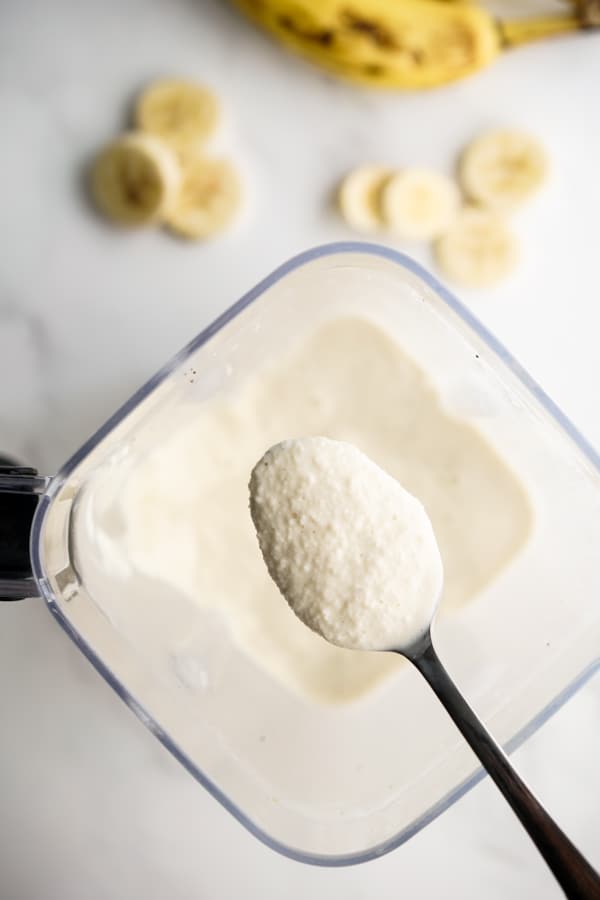
Banana milkshake should be fairly thick, creamy and with some icy granules.
I typically taste the banana shake after blending, and add more bananas (non frozen) if I want to up the banana flavor in the shake.
Blending tips
All blenders work differently, some more powerful than others. Depending on your blender and the consistency of your ingredients, you may have to adjust accordingly and thicken or thin out your banana milkshake as needed.
Start with the proportions given, then add these ingredients as needed:
- To thicken banana milkshake – add ice cream or bananas
- To thin banana milkshake – add milk
You should also taste the shake and adjust the sweetness, banana flavor to your liking:
- To sweeten – add ice cream or bananas
- To increase banana flavors – add bananas (can be non-frozen)
- To make less creamy – add milk or ice
As I mentioned above, I love making homemade Banana Milkshakes because I can adjust the flavor, texture and consistency to my liking.
So take full advantage of that and adjust accordingly so that it fits your tastebuds!
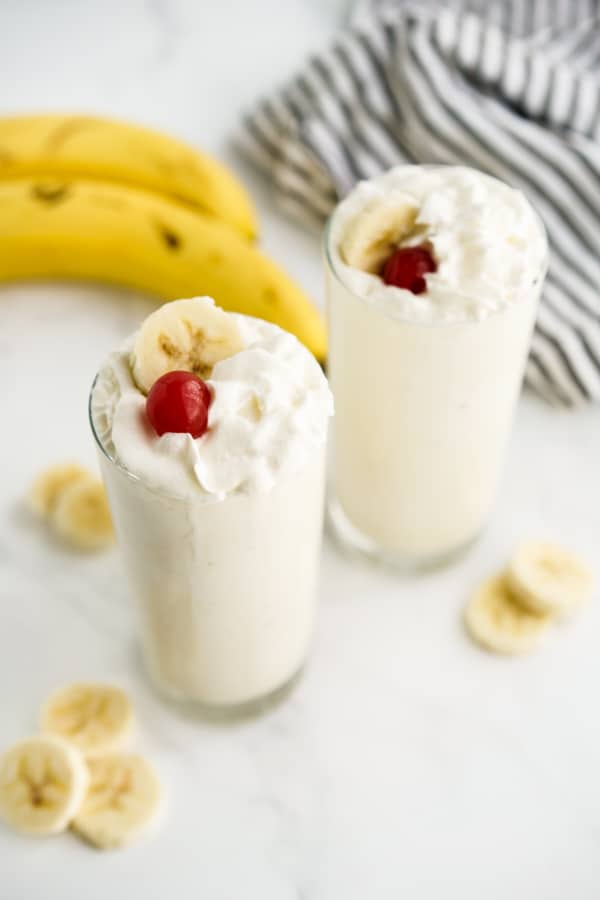
Step 3: Garnish and serve
The garnish part is truly completely optional, as it will not change how your Banana Milkshake tastes.
But it does make it look super pretty!
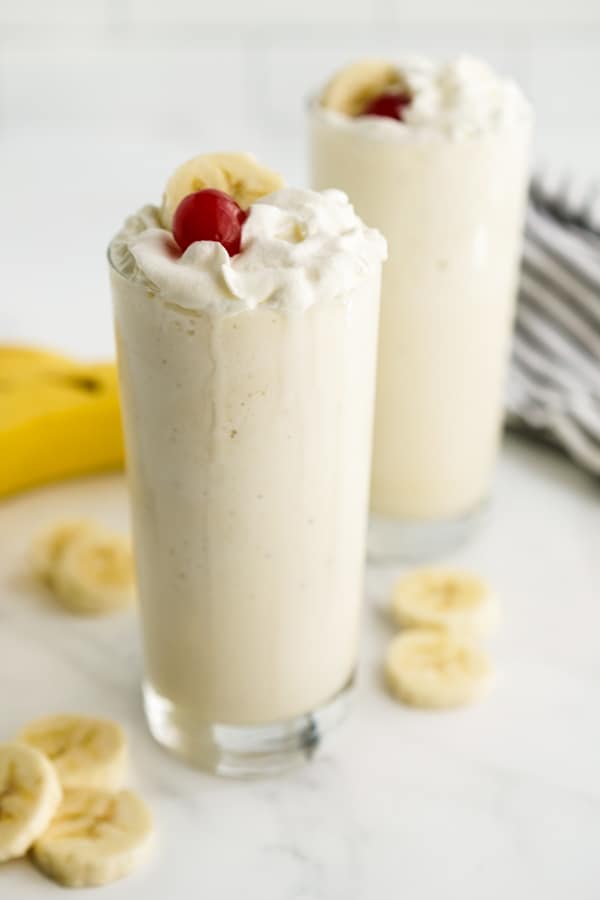
Pour your blended Banana Milkshake into a glass (tall glasses are always fun for milkshakes), and top with whipped cream, banana slices and maraschino cherries.
And that’s it! No artificial flavors, made with real bananas, super easy, super quick…just remember to freeze those bananas the night before! 💛
Frequently Asked Questions
Go ahead and use the bananas without freezing, just know that there would be less of an icy texture, and your banana milkshake will not be as iced cold. If you want, you can add a few ice cubes to the blender, but know that that will dilute your milkshake a little.
Absolutely! If your blender can handle it, go for it! I would use non-frozen bananas though to not jam up your blender.
2% or whole milk work the best. If you like it lighter and less creamy, you can try 1% milk.
This is one of those things that you probably want to consume immediately for the tastiest results.
Using ripe bananas will help because they are sweeter! Best bananas to use are yellow ones with some dark black spots. Not green ones (underripe), or ones which has turns completely brown/black (has a weird overripe flavor). Another way to add sweetness is to add more ice cream.
DID YOU ENJOY THIS RECIPE? Please comment below and give us a 5-star rating! This will help others find this recipe on Google and Pinterest. We very much appreciate your help! 🤍
More Frozen Treats
Love this Homemade Banana Milkshake? Check out some of these other yummy homemade frozen treats!
- The Best Cookies and Cream Ice Cream
- Lemon Ice Cream
- Acai Smoothie Bowl
- S’mores Ice Cream
- Mint Chocolate Chip Milkshake (by Life Love and Good Food)
Banana Milkshake
Ingredients
- 2 banana sliced, frozen
- 1 1/2 cup milk 2% or whole
- 1 1/2 cup vanilla ice cream ~3 scoops
- 1 banana sliced (non-frozen)
- 1/4 cup whipped cream optional
- 2 maraschino cherries optional
Instructions
- Slice two bananas in small slices. Bring them to a large zip lock bag and space them out so they freeze individually (not lump together). Lay zip lock bag flat in the freezer and freeze for at least 6 hours (or overnight).
- In a blender, bring together frozen banana slices, milk and ice cream. Blend until smooth. Add more milk if blender is stuck.
- Once a thick consistency is achieved, taste and add a few more slices of bananas to bring more banana flavors if desire. Optional: set aside a few slices of banana for garnish.
- Taste banana milkshake and adjust accordingly. If a thicker consistency is preferred, add more ice cream. If a thinner consistency is preferred, add more milk. If a sweeter milkshake is preferred, add more ice cream and/or bananas.
- Pour banana milkshake into two (or three if you prefer smaller portions) tall glasses.
- Optional: Top each glass with whipped cream, cherries and a slice of banana. Serve and enjoy!



Great flavour, what a treat!
So glad you like it!!
What a fantastic breakfast this was. Easy and delicious!
Thanks, Debi! I’m so glad you enjoyed it!
I love a great banana milkshake! Now I can make them at home, yay!!
Glad you enjoyed it, Tristin!
This is so delicious and refreshing! It’s about a gazillion degrees and this was the perfect treat to cool off.
Yes! So perfect for summer! Thanks for trying it!
This was the perfect treat to make for my grandkids. They all loved it and it was very easy to make. Such a wonderful recipe.
Thank you so much!
This is a fantastic recipe! I love making it as a special treat for my kids and myself!
Thanks Angela! Happy to hear you and your kiddos love it!
I made this yesterday and the kids love it. It was delicious and such a treat. The banana flavor really comes through on this one.
Thank you! Glad you all enjoyed the treat!
I’m loving this banana milkshake! I made some for my twins and myself and we all really enjoyed it. Such great flavors in this.
I’m glad you all loved it!